
Showing posts with label copper. Show all posts
Showing posts with label copper. Show all posts
Saturday, October 17, 2015
A NEW TEXTURE!
It's always exciting to find a new texture to use with the rolling mill. I recently ordered some filigree cupcake wrappers from Amazon after seeing a post somewhere. I'll definitely be adding a few more patterns with my next order.
 I don't quite understand how they are used with a real cupcake. You usually bake cupcakes in cupcake papers, right? ... so do you just wrap this wrapper around the cooled cupcake as an attractive way to present it? The paper is quite heavy so it would be reusable ... unless it got covered with frosting!! And it could probably be rolled through the rolling mill a second time too.


Friday, May 8, 2015
A NEW DIE FOR THE HYDRAULIC PRESS
I've always liked this curved shape. It was like putting a puzzle together, dividing a small piece of paper into four parts, folding it and trying to duplicate each part. Oh well, it's not perfect, but I like it! I copied it to the protective paper on the acrylic plexiglass, drilled a hole for my saw blade and cut out the shape.

 I annealed several pieces and used my favorite leaf texture plate.
 HEY, WHAT IS THAT PIECE IN THE RIGHT CORNER? It's a skeleton leaf run through the rolling mill on a piece of copper! Isn't it beautiful? I just got a packet of 100 yesterday ... Think of all the possibilities!!
 Here is the new die with all the curves. I love it!
 I made a few more pieces using the leaf texture on the other dies I had made.
 These were the smaller oval forms.
 The long skinny ovals. I really like these!
 And, again, the new die shape and another heart.
 Next on my list is to make a smaller heart shape die. AND since I have only two 3" plexiglass pieces left that came with my form box kit, I'll have Google how to cut my 10" x 10" sheets into pieces.
AND ... now that I have all these pressed pieces, it's time to start creating pendants.


AND ... now that I have all these pressed pieces, it's time to start creating pendants.
Tuesday, January 27, 2015
VALENTINE'S DAY LISTINGS
Hoping to make a few sales for Valentine's Day, I've listed a few more pieces in my Etsy shop.
Here's a necklace with an etched heart and a beautiful patina finish. I've added my own lampwork beads. The length of the necklace with its wire wrapping and chain is 27", and it fits over the head without unfastening the clasp. I love it.


Another heart lampwork bead necklace.

Here's a necklace with an etched heart and a beautiful patina finish. I've added my own lampwork beads. The length of the necklace with its wire wrapping and chain is 27", and it fits over the head without unfastening the clasp. I love it.


Another heart lampwork bead necklace.

Sunday, July 20, 2014
Fold-Formed Copper Leaf Earrings
"Foldforming" by Charles Lewton-Brain. This book is full of exciting forms and ideas by the man who discovered the concept. The earrings I listed in my Etsy shop are very simple ones done by foldforming. They were cut from copper sheet, folded, shaped and textured. They were then annealed to soften the metal so the fold could be opened. The beautiful patina is a result of the annealing process. The earrings were completed with my own lampwork beads and handmade sterling silver ear wires.


Saturday, January 25, 2014
Enameled Hearts
It's been a busy month so far ... so many deadlines to meet. But I took some "my" time recently to enamel a few pieces. These hearts were cut from copper sheet and then domed. I tried a new method of enameling for the first time ... so exciting. Instead of using a trivet to set the piece on to torch fire, I hung the piece on a steel mandrel, got it hot in the flame, then dipped it into enamel. This was done until the piece had three coats of enamel on it and then pulled off into a bed of vermiculite. Here's a short video with Barbara Lewis demonstrating how she enamels a metal bead:
http://www.youtube.com/watch?v=L9Zr-6D9FnY
These are photos of the pieces I recently listed on Etsy.


http://www.youtube.com/watch?v=L9Zr-6D9FnY
These are photos of the pieces I recently listed on Etsy.


Monday, August 26, 2013
My Latest Disc Project
If you read my earlier post last week where I shared my Birthday Present to myself, you saw the discs I cut with my new Swanstrom Disc Cutter. The inspiration came from Barbara Lewis's torch fired pieces in her video and book.
Let me tell you ... it wasn't as easy as it looks. I would like to say that I am not a mechanical person, but usually find a way to make the piece work. My pieces below look like they came out of a war zone, but I'm not finished yet! And hopefully the opaque enamels will cover a lot of the marks made by hammering. In this case, my idea of etching is out. Here are some of the pieces I worked on.

The main problem I had was my dapping blocks. They didn't have the correct cavity size to make the last deep "dapping". Those little cups really suffered with lines around the edges because the cavity was too small for them, as well as getting stuck in the hole.

The two photos above show the pieces from the top with the domed disc sticking through. The two photos below show the back. I will smooth the edges of the domed pieces so they will look and fit better. Poor things. Both front and back will be torch enameled. The domed discs will adhere to the outer pieces with enamel acting as a "glue". What a great design! And such an inspiration for future projects.


Let me tell you ... it wasn't as easy as it looks. I would like to say that I am not a mechanical person, but usually find a way to make the piece work. My pieces below look like they came out of a war zone, but I'm not finished yet! And hopefully the opaque enamels will cover a lot of the marks made by hammering. In this case, my idea of etching is out. Here are some of the pieces I worked on.

The main problem I had was my dapping blocks. They didn't have the correct cavity size to make the last deep "dapping". Those little cups really suffered with lines around the edges because the cavity was too small for them, as well as getting stuck in the hole.

The two photos above show the pieces from the top with the domed disc sticking through. The two photos below show the back. I will smooth the edges of the domed pieces so they will look and fit better. Poor things. Both front and back will be torch enameled. The domed discs will adhere to the outer pieces with enamel acting as a "glue". What a great design! And such an inspiration for future projects.


Sunday, August 25, 2013
Etched Hearts
I cut out a few hearts from one of the larger etched copper pieces with Deborah Read's zentangle stamp. I applied patina to two of them. They are far from being finished, but I think they will turn out very nice.


Saturday, August 24, 2013
My Special Birthday Gift ... to myself!
I recently got out Barbara Lewis's book, "Torch-Fired Enamel Jewelry", and watched her video, "Creative Torch-Fired Enamel Techniques". The bracelet she made in the video was sooo great and really got me inspired. I started cutting discs using my old disc cutter, as well as sawing larger circles with my jeweler's saw that could not be done with my disc cutter. After 30 minutes of sawing, I looked at my poorly done circles that still needed lots of filing and sanding, and I stopped. My right shoulder that has 3 tears and is living on borrowed time, was starting to hurt. I made a decision, and although it's a month early, I ordered myself a very special birthday gift that arrived yesterday.
Yes, the Swanstrom Disc Cutter, as well as the Center Positioning Dies!

Last night I got out some of my recycled copper sheet -- it's from the scrap bins at Industrial Metals nearby -- scratched, but easily cleaned and smoothed with sanding -- and used my left arm to easily cut out these discs that will be used for pendants and for making a bracelet. The tiny circle is first cut out to make the hole in the larger piece. You can save this little disc for future use -- bead cap perhaps? The metal is then placed under the large hole of the disc cutter so you see the tiny circle cutout. Using the positioning die for that hole, you center the circle exactly, tighten the clamp on top, remove the positioning die, insert the large punch, and it's time to strike the punch for the perfect component. So easy! I made about a dozen. The copper disc on the left becomes the center element for the piece. Hard to imagine now, but if you have the book or video, you can follow along. And I'll show you in my next step.

Today's a new day. I'll work on the doming parts and show you what's happening in a later post. These pieces can either be etched or enameled or the two processes combined. It's an exciting project and having fed the dogs and myself, cleaned up, paid some bills, etc., I have the afternoon free to play!
Yes, the Swanstrom Disc Cutter, as well as the Center Positioning Dies!

Last night I got out some of my recycled copper sheet -- it's from the scrap bins at Industrial Metals nearby -- scratched, but easily cleaned and smoothed with sanding -- and used my left arm to easily cut out these discs that will be used for pendants and for making a bracelet. The tiny circle is first cut out to make the hole in the larger piece. You can save this little disc for future use -- bead cap perhaps? The metal is then placed under the large hole of the disc cutter so you see the tiny circle cutout. Using the positioning die for that hole, you center the circle exactly, tighten the clamp on top, remove the positioning die, insert the large punch, and it's time to strike the punch for the perfect component. So easy! I made about a dozen. The copper disc on the left becomes the center element for the piece. Hard to imagine now, but if you have the book or video, you can follow along. And I'll show you in my next step.

Today's a new day. I'll work on the doming parts and show you what's happening in a later post. These pieces can either be etched or enameled or the two processes combined. It's an exciting project and having fed the dogs and myself, cleaned up, paid some bills, etc., I have the afternoon free to play!
Monday, August 12, 2013
"Invisible Forces" Treasury
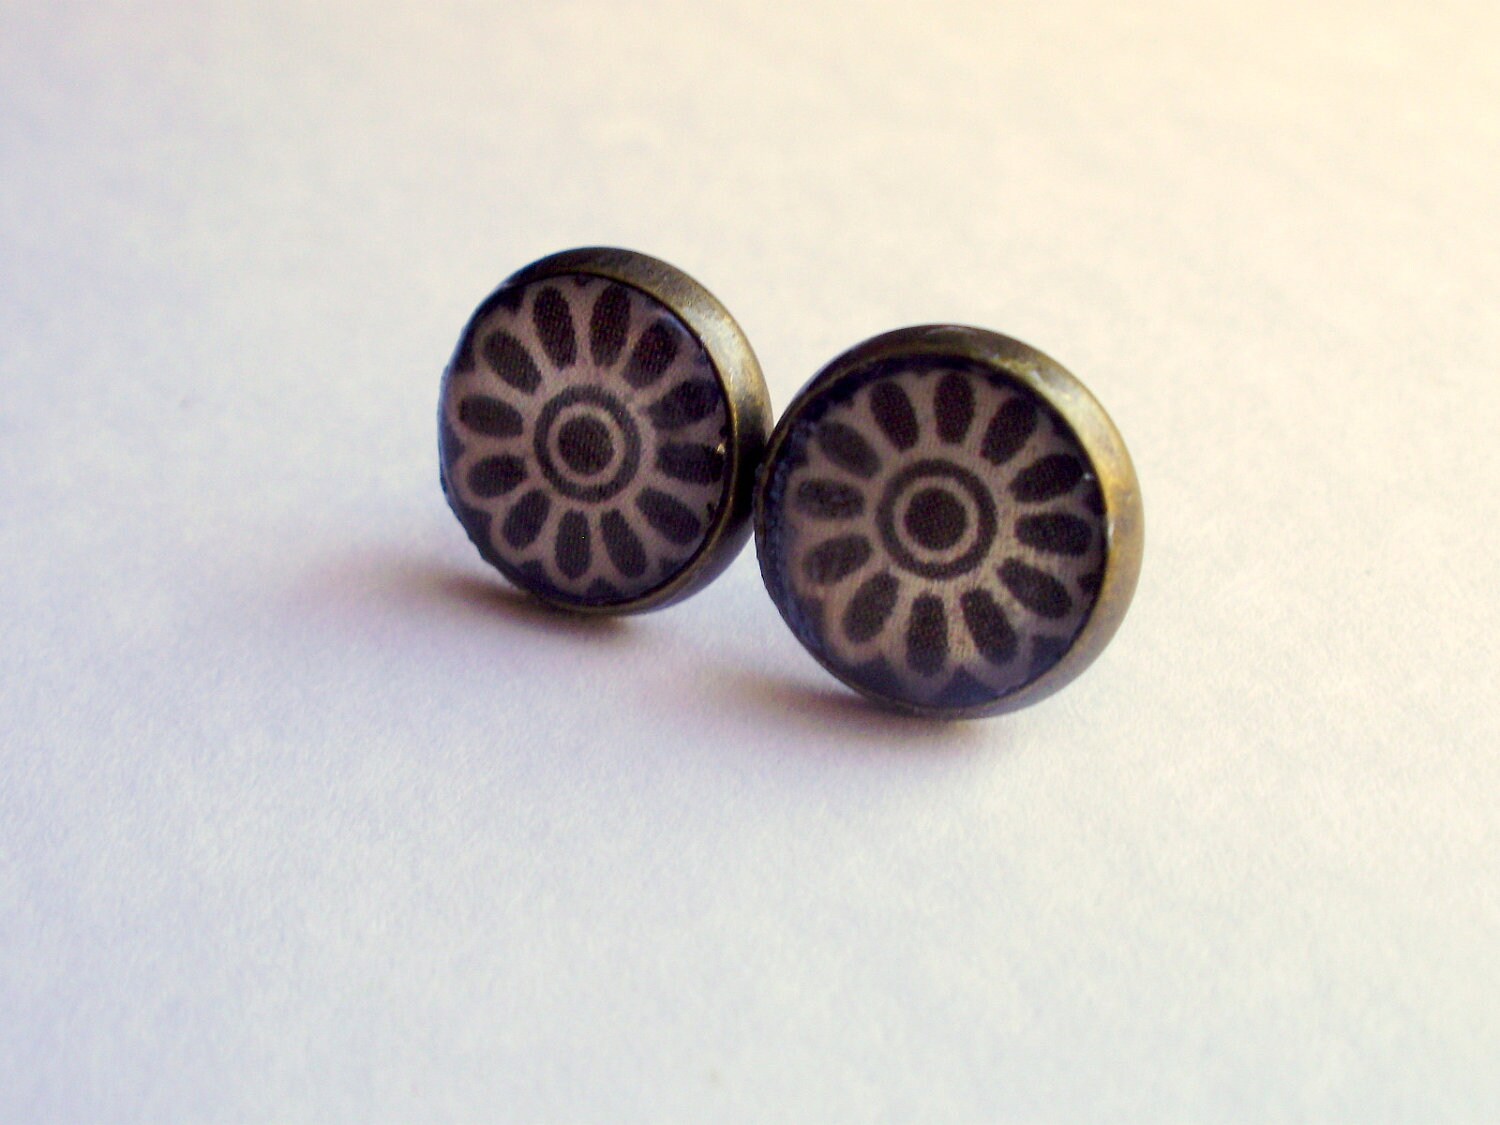
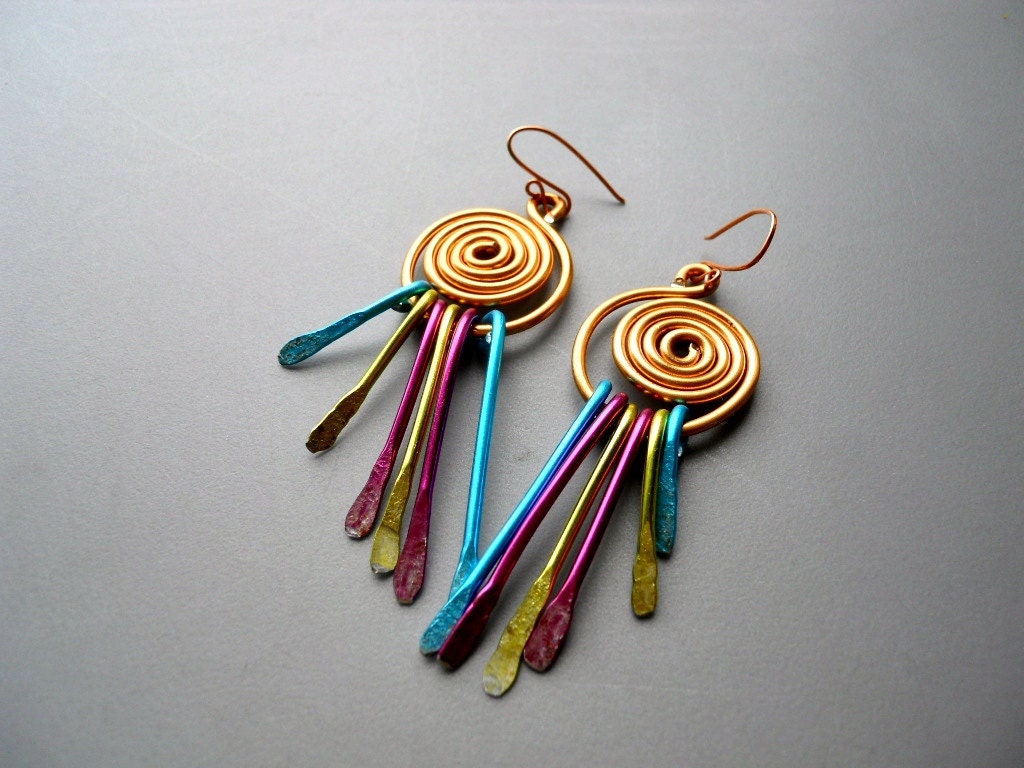
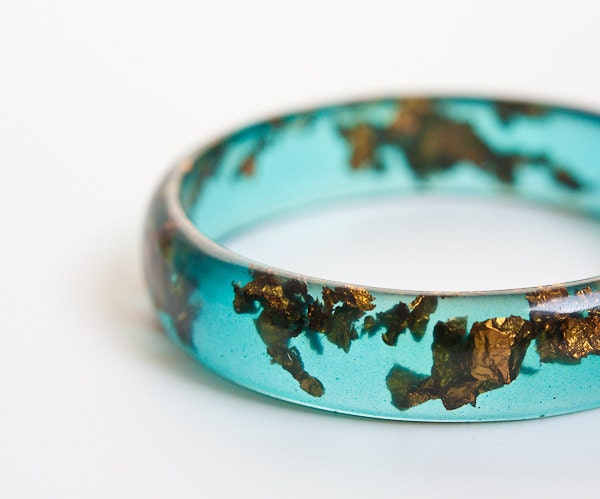
I have been very delinquent in posting on my blog. Busy days. But that's better than having boring days, isn't it?! I've been doing some etching the past couple weeks and want to share my photos, process and progress in my next blog post. The Etsy treasury below shows my etched earrings which I made last year. So much fun!
'Invisible forces' by deidrewasenius

Sponsored by send bulk email from excel.
Monday, May 28, 2012
"Etched Love" Treasury
One of my favorite projects was making this etched copper hearts bracelet -- included in this beautiful treasury!
'etched love' by cabinetocurios
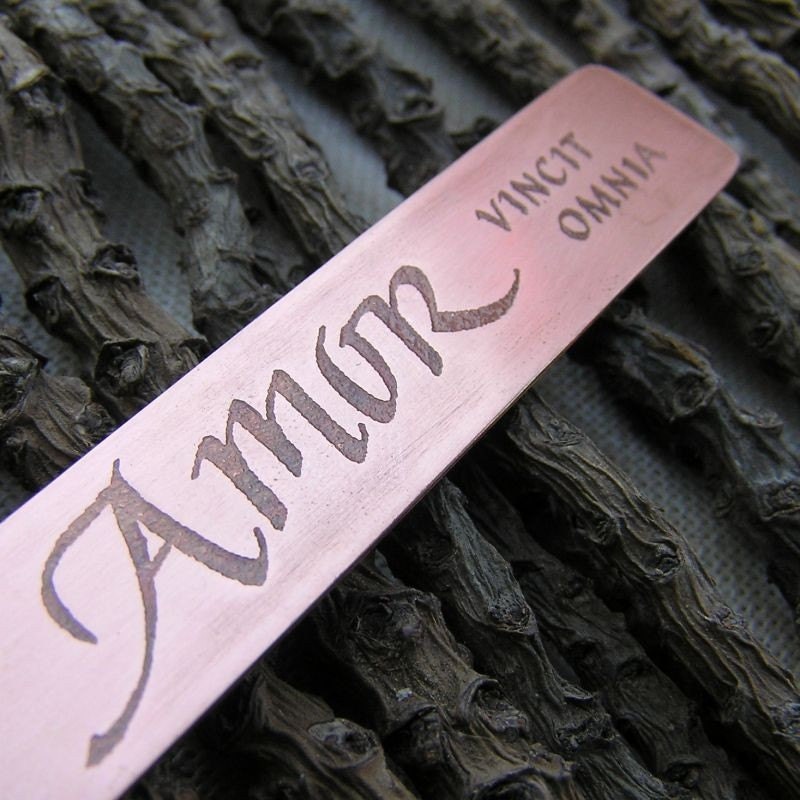 Amor vincit omnia c... $39.00 |  Etching metal, and ... $50.00 | 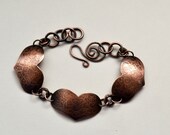 Three Etched Copper... $26.00 | 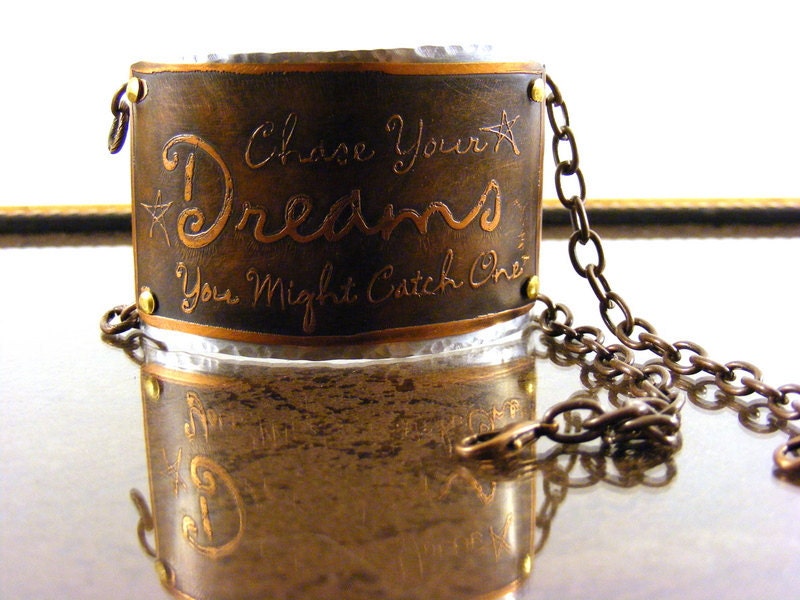 ChaSe YouR DrEamS..... $25.00 |
 Tea Time - Etched M... $20.00 | 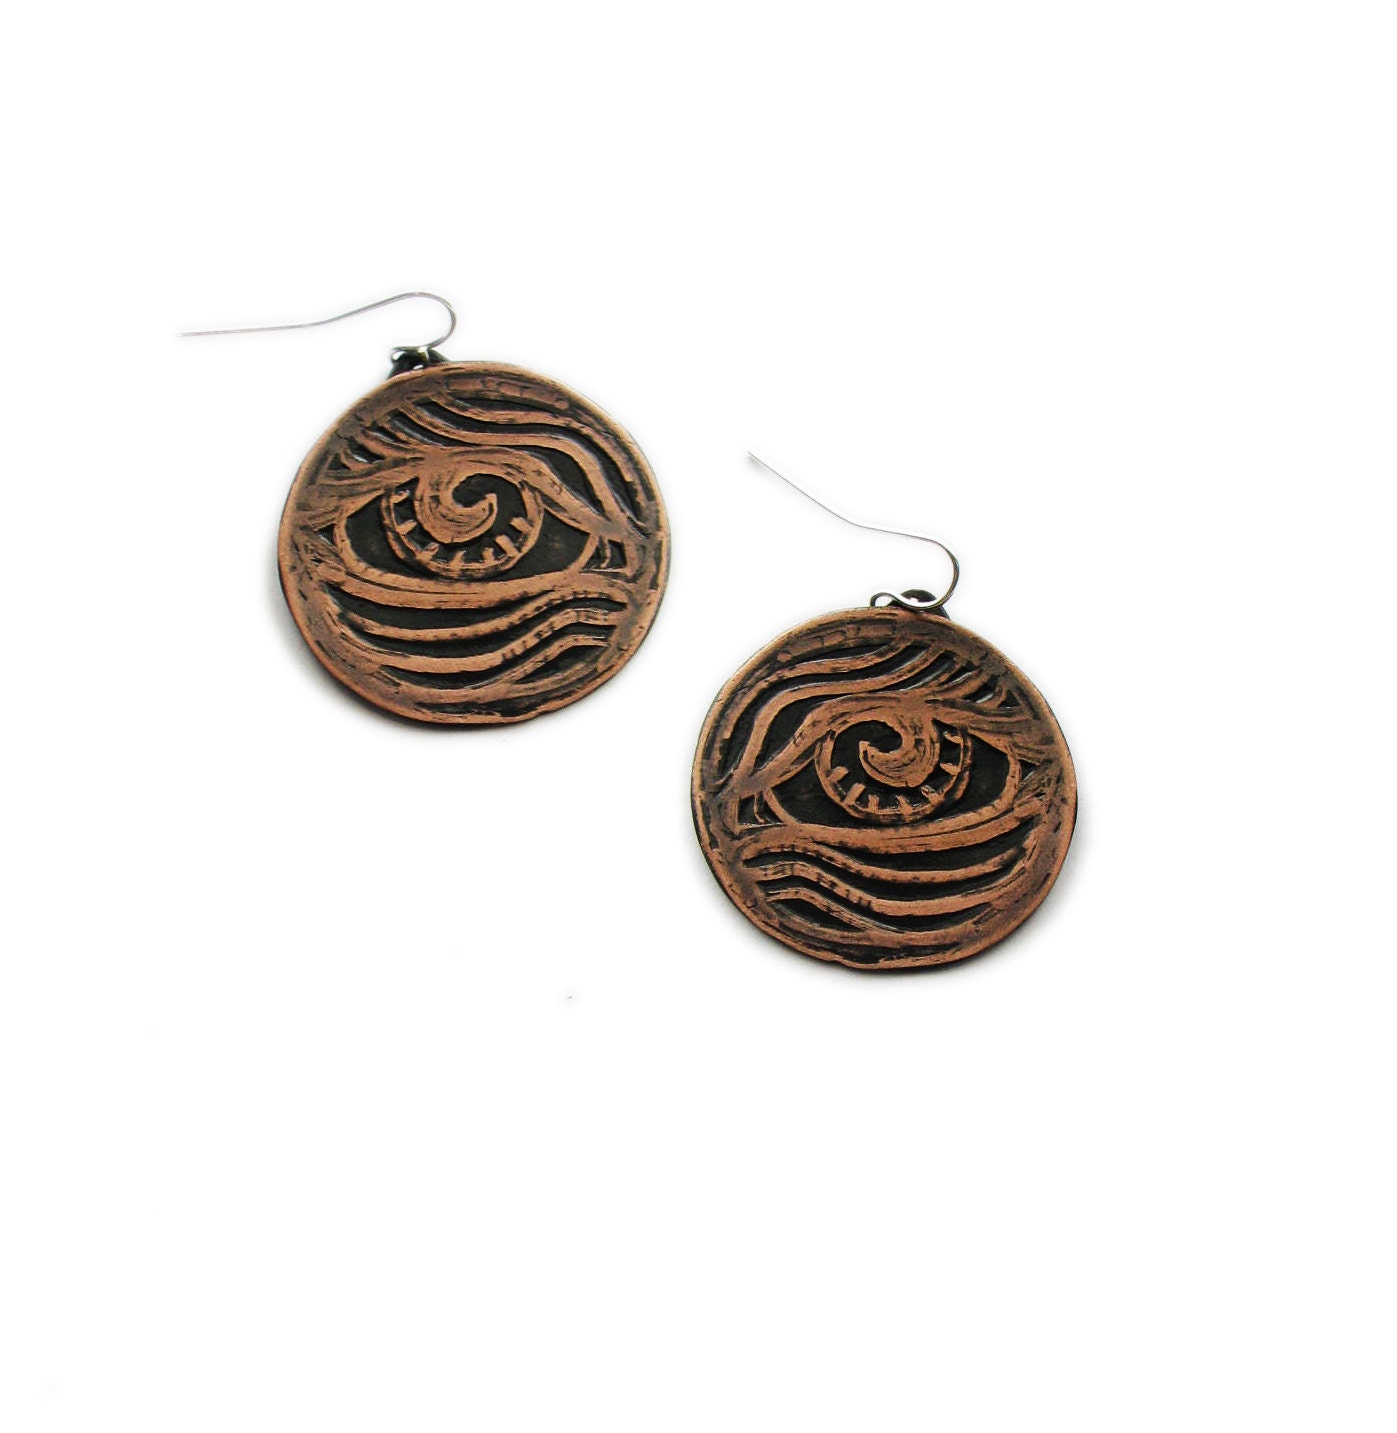 Copper Earrings - E... $32.00 | 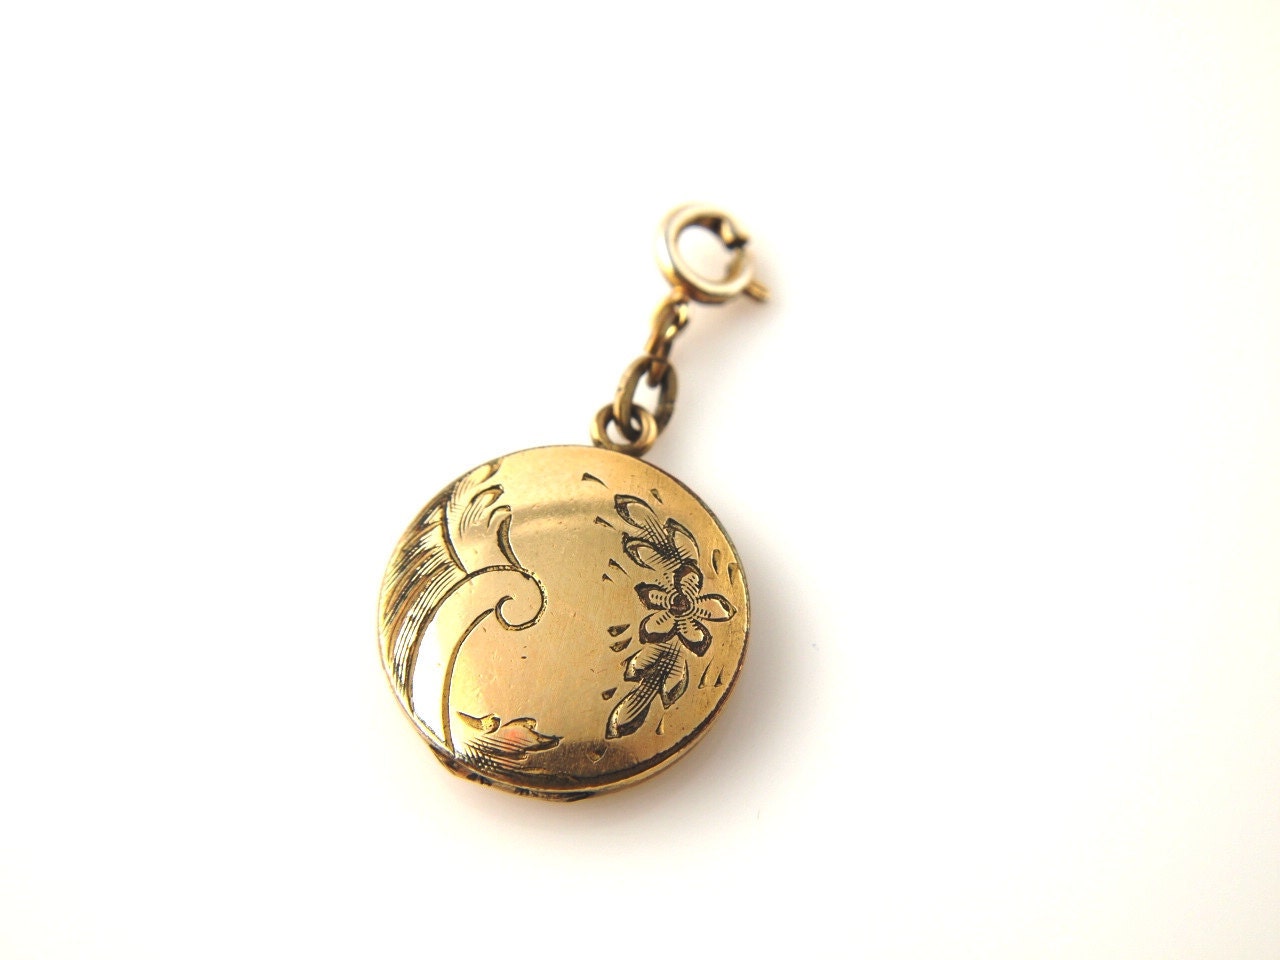 Round Locket - Vint... $65.00 |  Etched Copper Neckl... $48.00 |
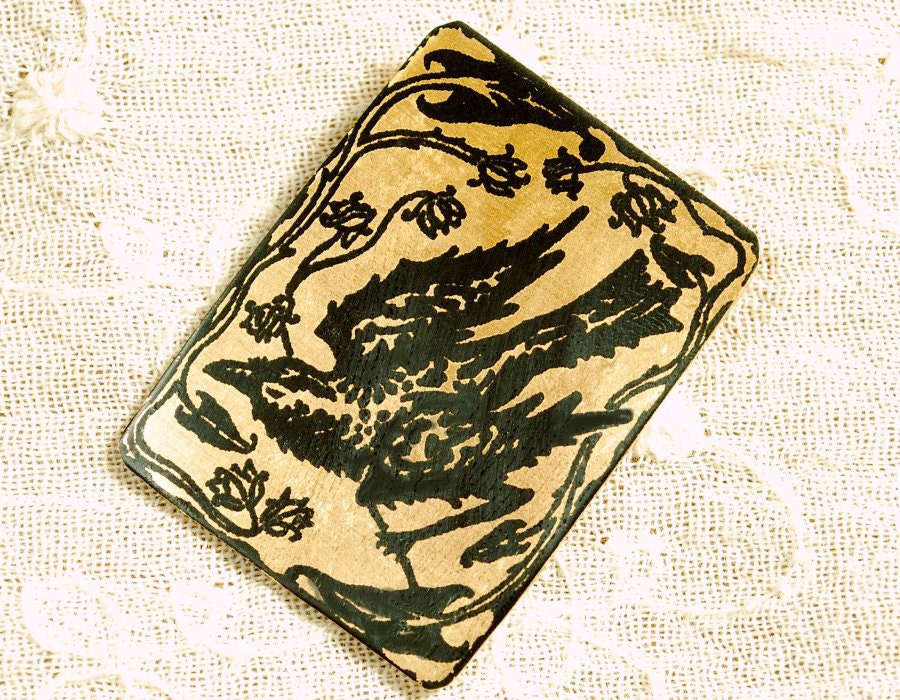 Raven Etched Fused ... $25.00 |  Etched Copper A Per... $14.95 |  Mexican Donkey Dama... $20.00 |  Vintage Pin/Pendant... $25.00 |
 Vintage Sterling Si... $75.00 |  Tiny Antique Chased... $29.00 |  Victorian Style Lar... $24.99 |  LOTUS FLOWER Organi... $27.00 |
Treasury tool supported by the dog house
Subscribe to:
Posts (Atom)