Sponsored by send bulk email from excel.


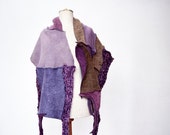 woman shawl Cozy wa... $60 |  Violet Amethyst Nec... $49.5 |  Sapphire and Perido... $38 | 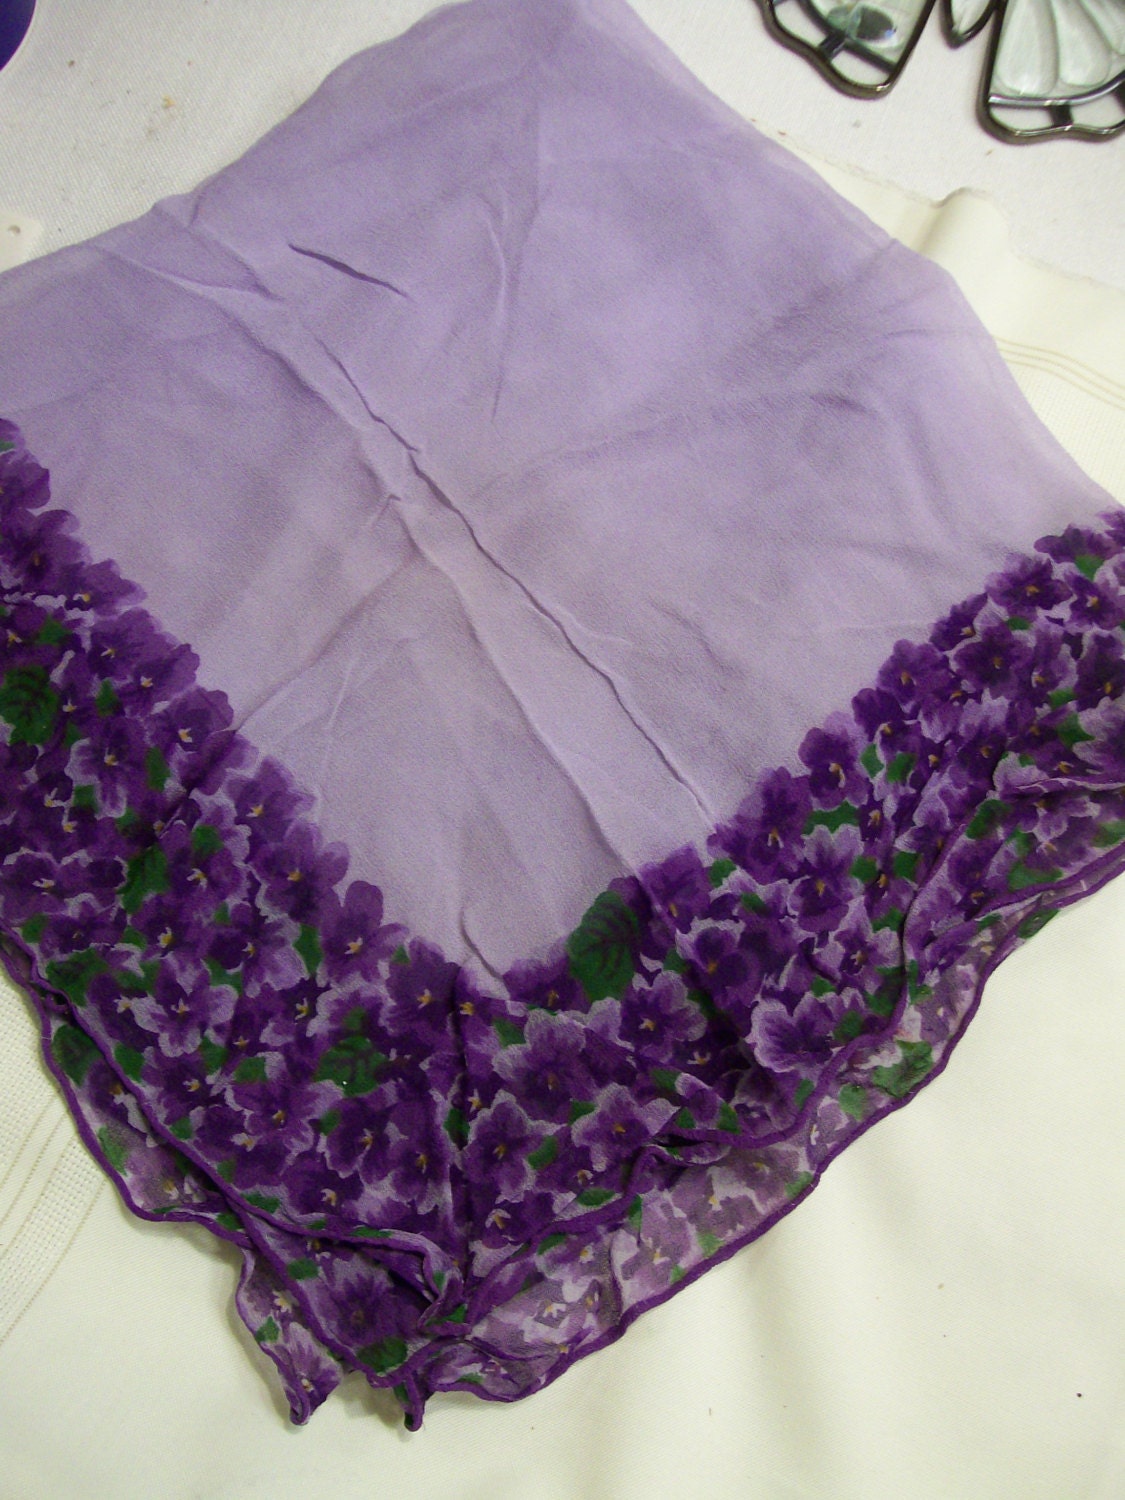 Vintage Violets Sca... $13.5 |
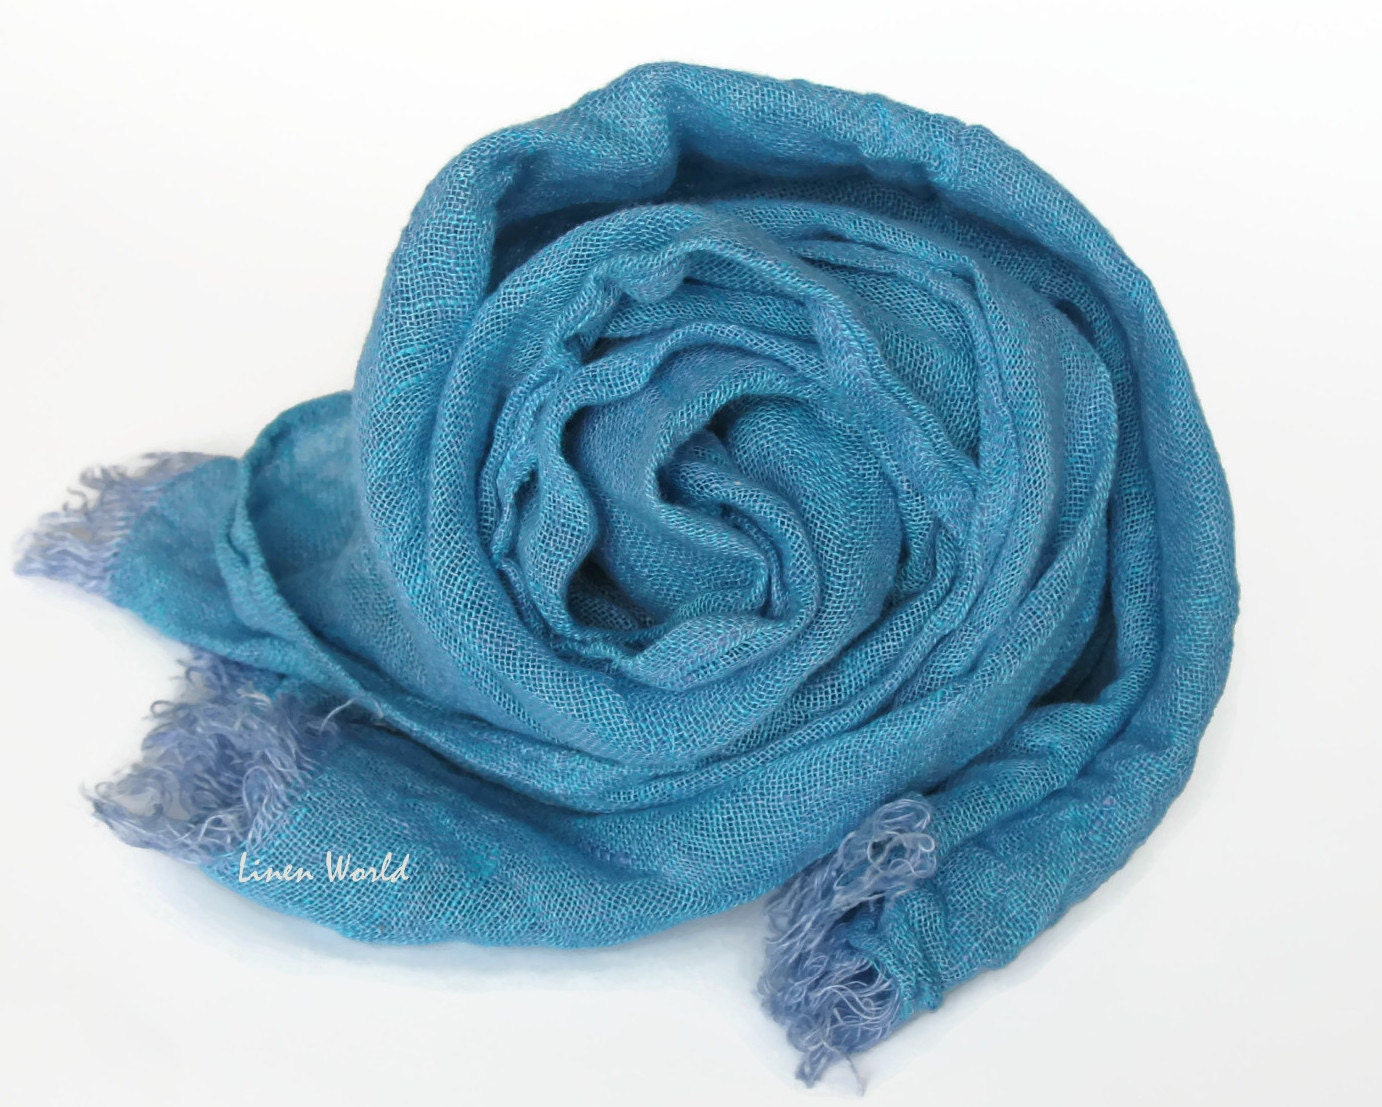
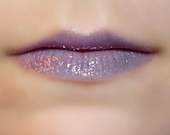 Hecate Lip Gloss: 1... $7.88 |  Vintage Purple Lila... $38 | 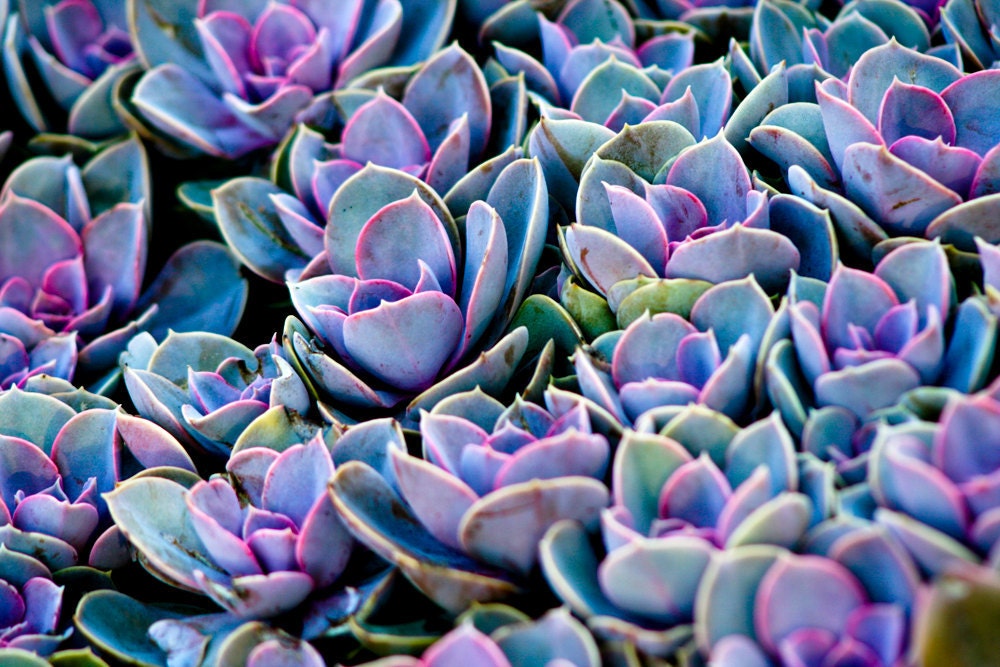 Photograph Vibrant ... $25 | 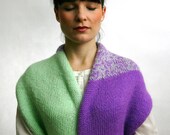 Mint and violet sca... $55 |
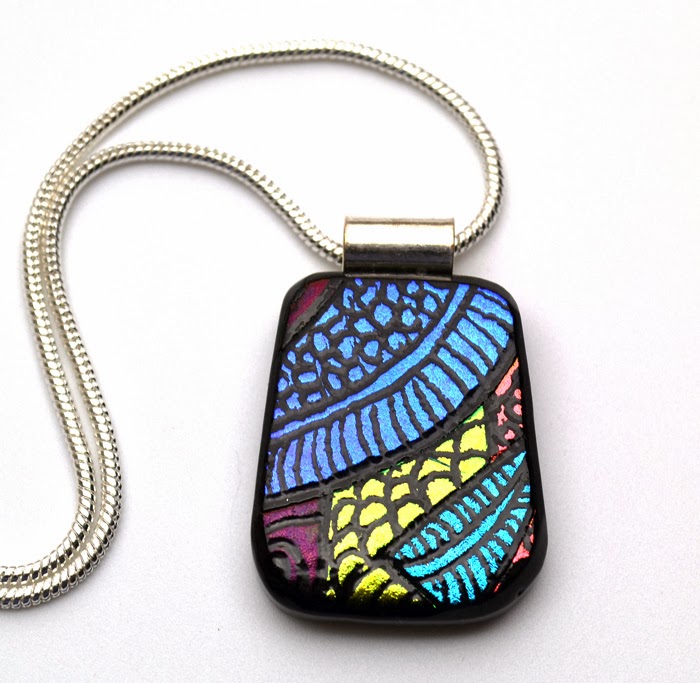
 THE DAYDREAMER: Vio... $30 | 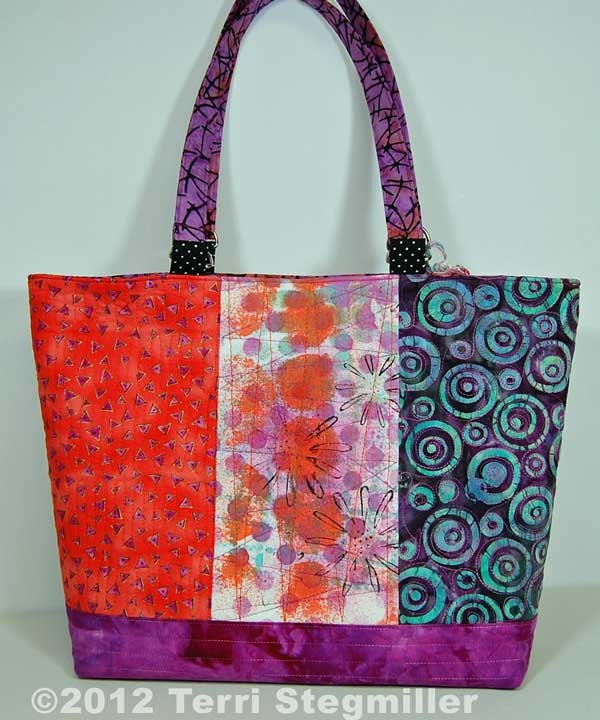 Trendy Color Block ... $65 | 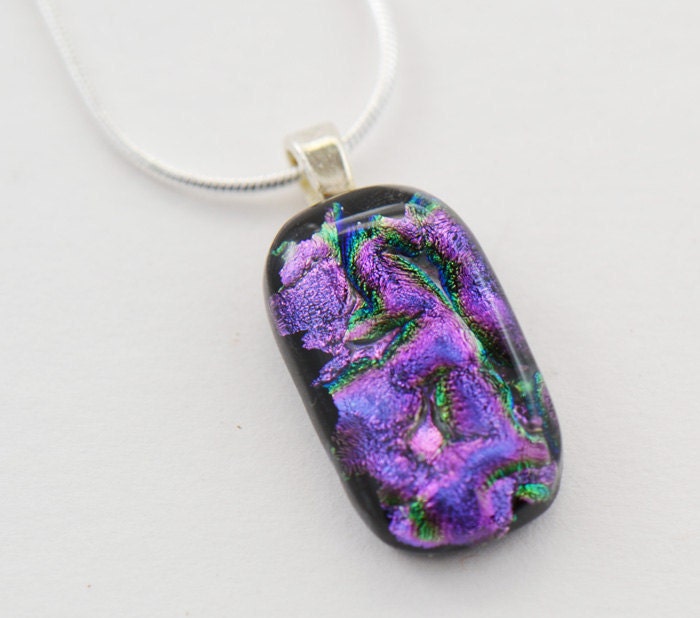 Fused Glass Dichroi... $18 |  Purple and Violet H... $110 |
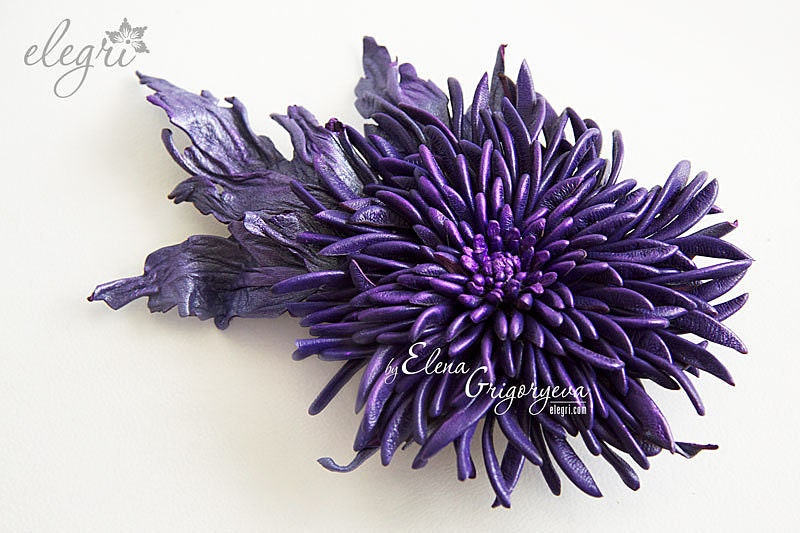 LEATHER FLOWER. Bro... $135 |  Sweet Buttons Assor... $4.45 |  violet monolith - O... $125 |  Violet petals - 20x... $25 |
Treasury tool supported by the dog house